Key Takeaways for a Smooth Salesforce Migration
- Define scope, cleanse data, and set measurable success criteria before any Salesforce data migration begins to prevent scope creep and storage bloat.
- Configure proper permissions, enable audit fields, and create External ID fields on every object to ensure accurate parent-child relationship mapping.
- Follow a strict hierarchical load order, such as Users, Accounts, Contacts, Leads, Opportunities, then Activities, while disabling automations to avoid governor-limit errors.
- Validate every load pass in a full-copy sandbox, run relationship-integrity and record-count reports, and re-enable automations only after confirming zero orphaned records.
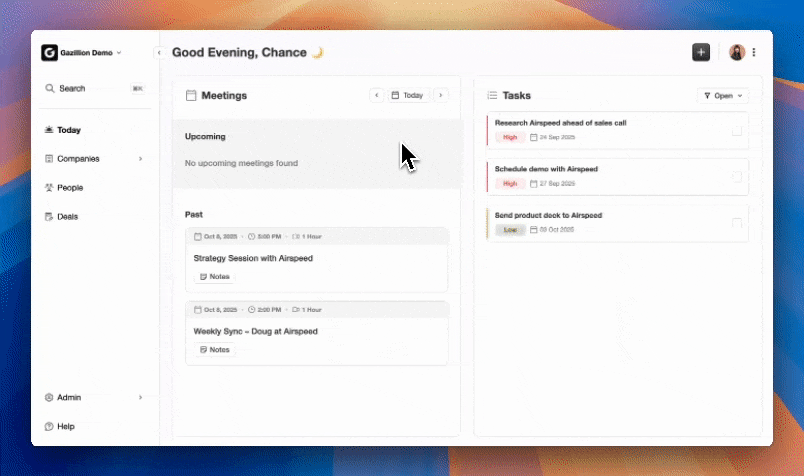
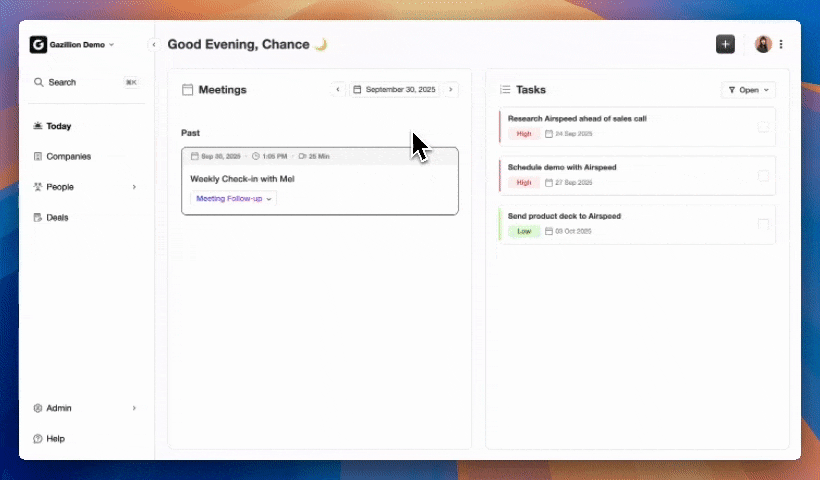
- Once migration is complete, maintain ongoing data quality with Coffee’s autonomous agent to keep your Salesforce org accurate without manual data entry.
8-Step Salesforce Data Migration Checklist
- Define scope and success criteria. Identify which objects migrate, set record-count targets, and document measurable go/no-go thresholds before touching any data. Many migration projects encounter delays, and a locked scope acts as the primary preventive control.
- Cleanse and deduplicate source data. Remove leads with no activity for three or more years, closed-lost opportunities from defunct companies, and test records from legacy environments. This keeps storage lean and reporting accurate in the target org.
- Configure permissions and audit fields. Request “Modify All Data” or object-level create and edit permissions and enable audit-field population before the first load runs.
- Create and populate external ID fields. Add a custom External ID and Unique field on every migrating object and populate it with the source-system identifier so lookups resolve without relying on Salesforce-generated IDs.
- Execute a sandbox dry run. Load a representative 5–10% sample in a full-copy sandbox, run validation reports, and confirm relationship integrity before touching production.
- Disable automations and triggers. Deactivate workflow rules, Process Builder flows, Apex triggers, and validation rules that are not designed for bulk volume before any production load.
- Load in hierarchical order. Follow the parent-to-child sequence in the table below. Use upsert with the external ID as the match key for every object after the first pass.
- Re-enable automations and validate post-load. Restore automations in reverse-dependency order, run relationship integrity reports, and lock the legacy system to prevent delta drift. Exception handling: if duplicate errors surface, halt the batch, deduplicate the source file against the external ID field, and re-run only the failed rows. If trigger errors fire during re-enablement, re-disable the offending automation, patch the trigger logic for bulk context, and re-enable after a second sandbox test.
Lock Scope Early and Cleanse Data Before You Move It
Scope creep is the leading cause of migration delays. Define the exact object list, date ranges, and record statuses that qualify for migration in a written specification signed off by business stakeholders before any extract begins.
Pre-migration cleansing must address four categories of data quality issues, and each one can break the migration in a different way. First, picklist value mismatches such as “United States” in the source versus “USA” in Salesforce require translation tables, or they trigger validation errors on import that halt the job. Second, inconsistent date formats like “12/5/2025” versus “05-12-25” and phone numbers with varying country codes cause batch import failures at the API level. Third, duplicate or inaccurate records migrated without cleansing create long-term issues in the Salesforce environment that degrade reporting and user trust. Fourth, records updated in the legacy system after the initial extract but before final cutover create source-target discrepancies that require delta migrations or manual reconciliation. Lock the legacy system at cutover to eliminate this last risk.
Set Permissions, Audit Fields, and External IDs Upfront
The migration user profile requires “Modify All Data” at minimum, or granular create and edit permissions on every object in scope. Without these rights, bulk upsert operations return insufficient-privilege errors mid-batch and leave partial loads.
Audit field population (CreatedDate, CreatedById, LastModifiedDate, LastModifiedById) must be enabled by Salesforce Support before the first load. Submit the case early because provisioning can take 24–48 hours.
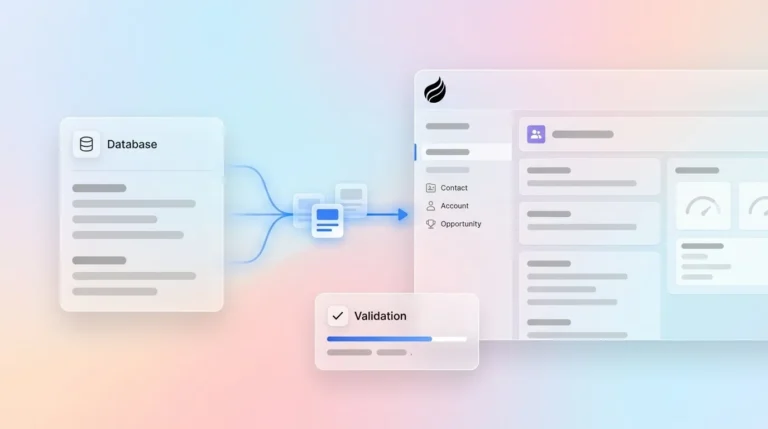
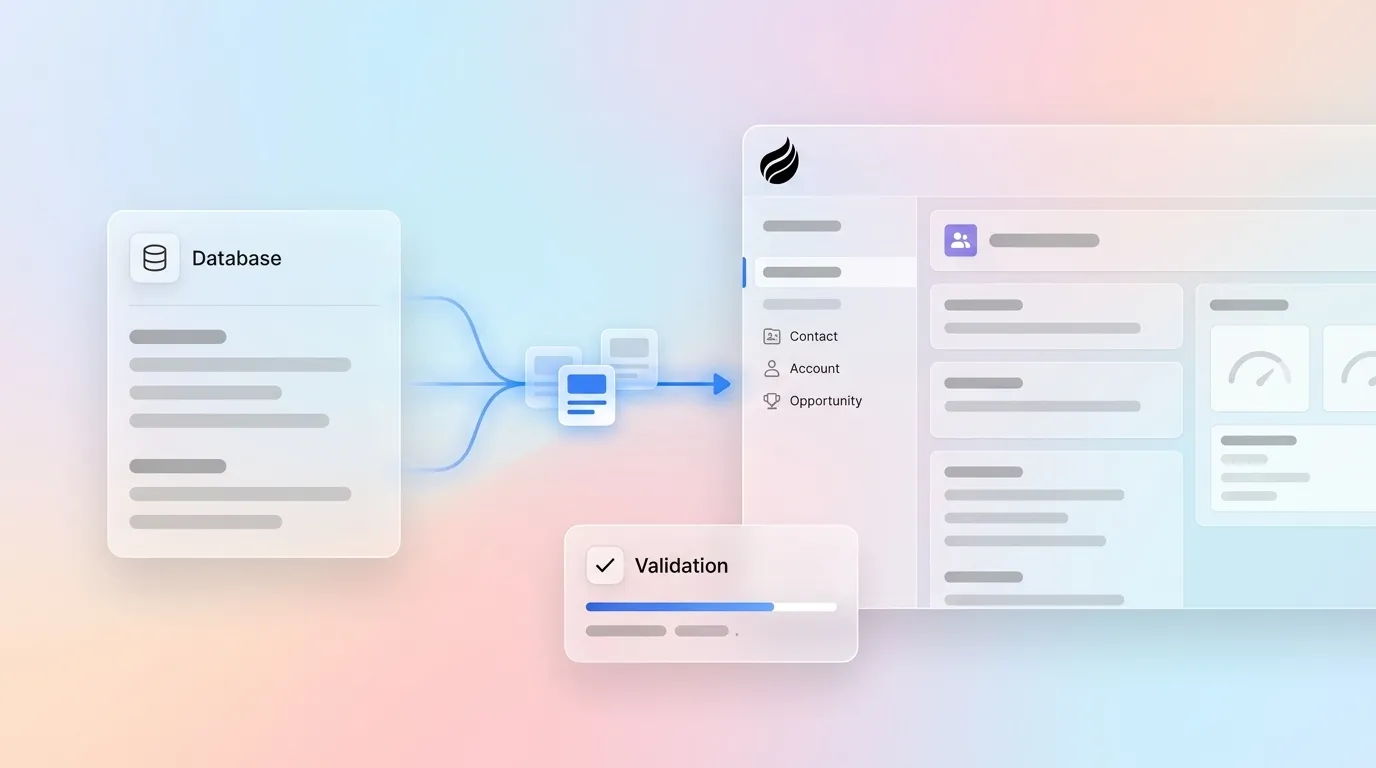
Create a custom field on each target object, mark it as both External ID and Unique, and populate it with the source-system identifier so records can be matched and related records linked without relying on Salesforce-generated IDs. Use Salesforce API field names found in Setup under each object rather than labels so field mappings remain stable even if labels change later. Maintain a field-mapping record that documents which source fields map to which Salesforce fields, why each mapping was chosen, any transformations applied, and fields intentionally excluded with documented reasons.
Follow a Hierarchical Load Order to Protect Relationships
Without external ID mapping, parent-child hierarchies break when child accounts load before parents, historical activities attached to deleted records become orphaned, and opportunities lose connections to custom objects. The table below shows the recommended sequence.
| Load Pass | Object | Dependency | Exception-Handling Note |
|---|---|---|---|
| 1 | Users / Profiles | None | Map legacy owner IDs to Salesforce User IDs before any subsequent pass. Missing owners default to the migration user and silently corrupt ownership data. |
| 2 | Accounts | Users | Load parent Accounts before child Accounts. Use the External ID to resolve the ParentId lookup on the second pass for account hierarchies. |
| 3 | Contacts | Accounts | Resolve AccountId via Account External ID. Contacts without a matching Account External ID must be quarantined and reviewed before load. |
| 4 | Leads | Users | Exclude records with no activity for three or more years to avoid storage bloat. |
| 5 | Opportunities | Accounts, Users | Salesforce DML statement limits restrict inserts or updates to 10,000 records per transaction, so split large Opportunity files into sub-10,000-row batches. |
| 6 | Opportunity Contact Roles | Opportunities, Contacts | Both parent Opportunity and Contact External IDs must resolve. Any unmatched row breaks the junction and must be logged for manual review. |
| 7 | Custom Objects | Accounts, Opportunities (as applicable) | Custom object triggers not designed for high-volume loads can cause performance issues or data corruption during bulk imports, so disable them before this pass. |
| 8 | Activities (Tasks / Events) | Accounts, Contacts, Opportunities | WhoId and WhatId must resolve via External ID. Orphaned activities from deleted parent records must be excluded or reassigned before load. |
Test in Sandbox and Use Clear Validation Reports
Run every load pass in a full-copy sandbox before production. A representative sample of 5–10% of total record volume is sufficient to surface mapping errors, trigger conflicts, and governor-limit collisions without consuming the full daily API budget.
Test migrations, including functional tests to validate business processes, should be executed in a controlled environment before the full production migration. After each sandbox pass, run three validation reports. First, run a record-count reconciliation comparing source extract totals to loaded totals by object. Second, run a relationship integrity report confirming Contacts link to correct Accounts, Opportunities link to correct Accounts and Contacts, and Activities attach to the correct parent records. Third, perform a field-value spot-check on 50 randomly selected records per object comparing source values to target values field by field.
Use clear success criteria. Target zero orphaned child records, record-count variance under 0.1%, and no failed rows in the final upsert log. Any batch with an error rate above 5% halts the migration until you identify and fix the root cause.
Re-enable Automations Safely After the Load
Re-enable automations in reverse-dependency order. Turn on validation rules first, then workflow rules and Process Builder flows, then Apex triggers, and finally any outbound messaging or email alerts. This sequence lets you test each layer in isolation before activating the next one.
Before re-enabling any email alert automation, verify that the loaded records do not have stale “last activity” dates that would immediately trigger welcome sequences or SLA-breach notifications to live customers. Suppress outbound email automations for 24 hours post-load and audit the queue before releasing. Locking the legacy system during final cutover combined with rollback procedures and post-load validation prevents data drift and detects migration failures before go-live.
Choose the Right Migration Tool for Your Volume and Governance
The three tools most commonly used for Salesforce migrations at small-to-mid-market scale are Salesforce Data Loader, MuleSoft, and Informatica PowerCenter. Key 2026 constraints apply across all three. Salesforce Bulk API processing is constrained by a 5,000-batch limit in any 24-hour window, and migrations involving two to three million records can quickly exhaust daily API call limits when each record requires multiple API calls. Monitor live usage via the Sforce-Limit-Info response header or the /services/data/vXX.0/limits REST resource. Salesforce Platform API versions 31.0 through 40.0 are being retired following their deprecation announcement in the Summer ’26 release.
| Capability | Salesforce Data Loader | MuleSoft | Informatica PowerCenter |
|---|---|---|---|
| Bulk API support | Yes, native Bulk API v1/v2 and subject to the batch limit noted above | Yes, via Salesforce connector and the same platform limits apply | Yes, via Salesforce connector and the same platform limits apply |
| Automation / trigger disable | Manual, admin must disable in Setup before running jobs | Manual, no native toggle and admin must disable in Setup | Automated validation and auditing across dev, test, and production without scripting, while trigger disable still requires Setup |
| Data quality / validation | Basic error logs with no built-in profiling | Transformation and mapping rules with no native profiling | Comprehensive native governance including RBAC, lineage, and policy enforcement with strong data quality and profiling |
| Best fit | Single-object, admin-run loads under 5M records | Multi-system integration with real-time sync requirements | Regulated industries or complex multi-object migrations requiring audit trails |
For teams running large-scale batch workloads, Salesforce Spring ’26 introduced Apex Cursors as generally available, enabling server-side chunking of large datasets within a single transaction and removing the previous 2,000-record limit for result sets, with a hard cap of 50 million cursor rows. This feature provides an efficient alternative to standard Batch Apex for post-load data processing jobs.
Deploy Coffee’s automation layer and stop treating your Salesforce org as a data-entry project that never ends.
Maintain Data Quality After Migration
Once you have selected your migration tool and completed the technical load, the next challenge appears: keeping that data accurate over time. A clean migration is a starting point, not a destination. Most Salesforce implementations do not fail because Salesforce is the wrong platform; they fail because the business stops too early. Within weeks of go-live, reps begin logging calls inconsistently, contacts go unenriched, and activity history develops gaps. The org that passed validation on day one degrades into the same data-quality problem the migration was meant to solve.
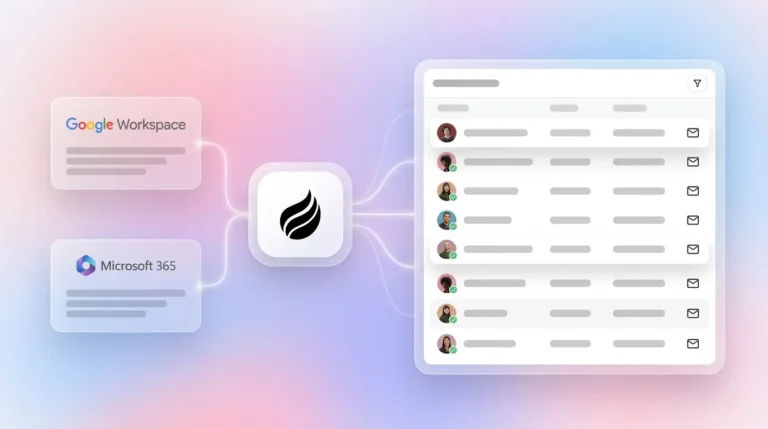
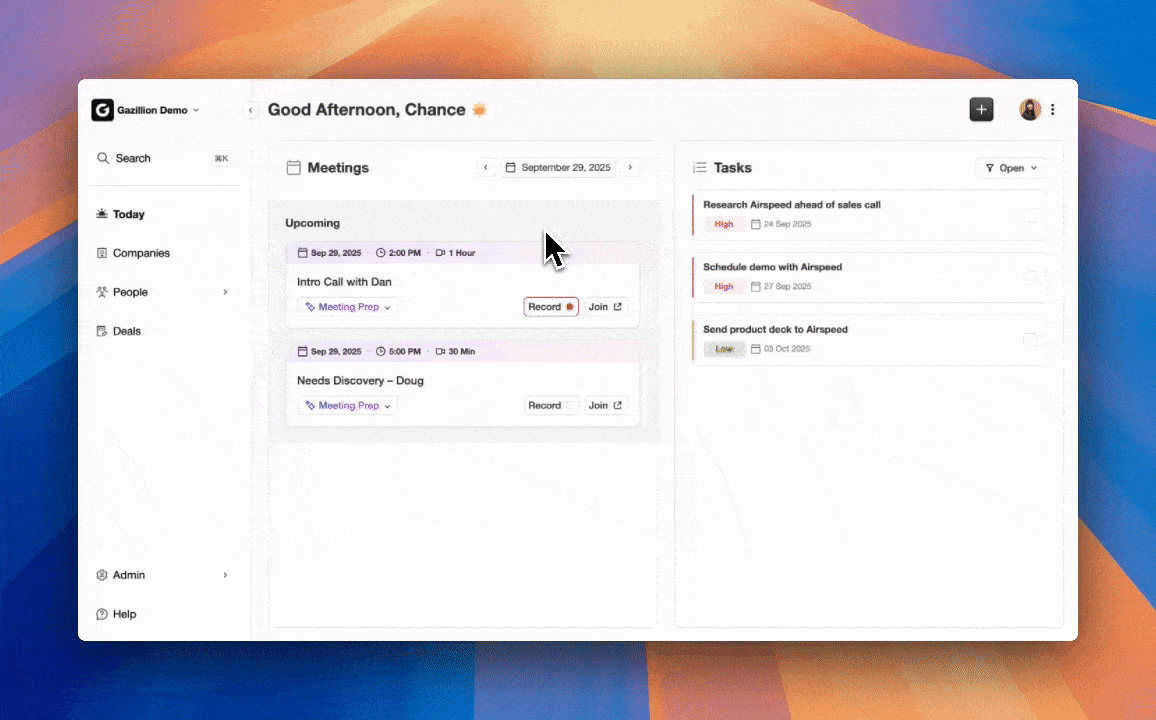
The only sustainable fix removes humans from the data-entry loop entirely. Coffee’s Companion App for Salesforce deploys an autonomous agent directly on top of your existing org. After you connect Google Workspace or Microsoft 365, the Coffee Agent scans emails, calendars, and call transcripts to auto-create contacts, log activities, enrich records with job titles and funding data, and write structured meeting summaries back to the correct Salesforce records, all without manual input from reps.
Where a migration preserves the relationships you built in the past, Coffee preserves the relationships you are building right now. Every email thread, every calendar invite, and every recorded call becomes structured Salesforce data automatically. The result is a CRM that stays as clean on day 180 as it was on day one of go-live, without forcing your team to act as data-entry clerks.
Deploy the post-migration automation layer your Salesforce org actually needs.
Conclusion: Turn Migration Discipline into Long-Term Data Health
Salesforce data migration best practices come down to three non-negotiable disciplines. Clean your data before it moves, load in strict parent-to-child order using external IDs as the connective tissue, and validate every relationship before re-enabling automations. The 8-step checklist and load-order table in this guide give implementation teams clear sequencing and exception-handling procedures to execute a production migration without broken hierarchies or governor-limit failures. Monitor your API consumption against the 5,000-batch-per-24-hour Bulk API constraint, ensure your integrations use supported API versions following the Summer ’26 deprecation, and lock the legacy system at cutover to eliminate delta drift.
Once the migration is complete, the work of maintaining data quality begins. An autonomous agent that ingests every email, meeting, and transcript is the only mechanism that keeps a Salesforce org accurate at scale without burdening your team. Eliminate data decay with Coffee and make it a problem that belongs to your legacy system, not your new one.
Frequently Asked Questions
What is the correct load order for Salesforce objects during a data migration?
The correct sequence follows strict parent-to-child dependency logic. Users and Profiles load first because every subsequent object references an owner. Accounts load second, with parent Accounts preceding child Accounts in hierarchical orgs. Contacts load third, resolving their AccountId lookup via the Account External ID. Leads load fourth. Opportunities load fifth and require both Account and User references to resolve. Opportunity Contact Roles load sixth as a junction object between Opportunities and Contacts. Custom objects load seventh, after all standard objects they reference are present. Activities, including Tasks and Events, load last because they reference Accounts, Contacts, and Opportunities via WhoId and WhatId. Loading any object before its parent is present in the target org produces lookup failures that either error out the row or silently create orphaned records with no parent relationship.
How do external IDs work in Salesforce data migration and why are they essential?
An external ID is a custom field on a Salesforce object that is marked as both External ID and Unique. During migration, you populate this field with the record’s identifier from the source system, such as a legacy database primary key. This approach gives every record a stable, human-readable key that exists independently of the Salesforce-generated 18-character record ID. External IDs serve three functions. First, they allow import tools to resolve parent-child lookups without requiring you to know the Salesforce ID of the parent record in advance, because you reference the parent external ID in the child import file. Second, they enable upsert operations, where Salesforce checks whether the external ID already exists and either creates a new record or updates the existing one accordingly. Third, they create a permanent, auditable link between the Salesforce record and its source-system counterpart, which supports delta migrations, post-migration reconciliation, and long-term governance. Without external IDs, every relationship must be resolved manually using Salesforce-generated IDs, which are not available until after the parent record is loaded.
What are the most common causes of Salesforce data migration failures?
The most common technical causes are incorrect load sequencing that breaks parent-child relationships, picklist value mismatches between the source system and Salesforce that trigger validation errors, inconsistent date and phone number formats that cause batch failures, and Apex triggers or workflow rules that fire during bulk loads and were not designed for high-volume context. On the process side, failures most often stem from an undefined scope that expands mid-project, insufficient sandbox testing before production loads, and failure to lock the legacy system at cutover, which allows records to be updated in the source after the extract and before the load completes. Migrating inactive or obsolete records, such as leads with no activity for years or test records from legacy environments, inflates storage and degrades reporting accuracy without adding business value. Finally, post-migration data decay is a failure mode that teams frequently overlook, because even a technically successful migration degrades over time if there is no automated mechanism to keep the org current after go-live.
How should automations and triggers be handled during a Salesforce data migration?
All automations that are not explicitly required for the migration load should be disabled before any production data is loaded. This group includes Apex triggers, workflow rules, Process Builder flows, validation rules that reference fields not present in the migration file, and any outbound email alerts. Custom Apex triggers are particularly risky because developers often write them for single-record context, and they fail or produce data corruption when fired against bulk insert or upsert operations. After the load completes and validation reports confirm relationship integrity, automations are re-enabled in reverse-dependency order. Turn on validation rules first, then workflow rules and flows, then Apex triggers, and finally email and outbound messaging automations. Email alerts specifically should be suppressed for at least 24 hours after re-enablement, and the outbound queue should be audited before release to prevent stale records from triggering live customer communications.
What is the role of post-migration governance in preventing Salesforce data decay?
Post-migration governance is the set of processes and tools that keep Salesforce data accurate after go-live. Without this layer, data quality degrades rapidly. Contacts go unenriched, activity history develops gaps as reps skip manual logging, and deal records fall out of sync with actual sales conversations. Traditional governance approaches rely on periodic data audits, admin-enforced validation rules, and reminders to sales reps, all of which depend on human compliance and fail at scale. The sustainable alternative is an autonomous agent that removes humans from the data-entry loop entirely. An agent that ingests emails, calendar events, and call transcripts and writes structured data back to Salesforce automatically ensures that the org stays current without requiring any behavioral change from the sales team. This approach addresses the root cause of data decay, which is the assumption that busy humans will reliably maintain a system of record.