Written by: Doug Camplejohn, CEO & Co-Founder, Coffee
Key Takeaways for a Zero-Loss Salesforce Migration
- Zero-loss Salesforce migrations depend on complete backups, precise field mapping, and a documented rollback plan before any records move.
- External IDs on every target object enable safe upserts and remove fragile two-pass ID remapping during parent-child loads.
- Load objects in strict dependency order, with parents before children, and keep all automation disabled until the full sandbox rehearsal succeeds.
- Post-migration validation follows a three-tier timeline with Hour 1 counts, Hour 24 integrity checks, and Hour 72 business-logic audits before retiring the legacy system.
- After migration, Coffee’s AI agent keeps Salesforce records accurate automatically, so you can protect your clean data long-term with Coffee’s AI agent.
Prerequisites for a Safe Salesforce Cutover
Confirm every prerequisite below before the first record moves.
- Matching metadata in the target org, including record types, page layouts, validation rules, profiles, roles, permission sets, and sharing rules
- A Full Copy Sandbox provisioned from the target org for dry-run testing at production scale
- Salesforce Data Loader for up to 5M records with full success and error logging, or Bulk API 2.0 for higher volumes
- Custom External ID fields created on every target object, marked as External ID and Unique
- Create Audit Fields permission enabled so you can preserve original Created Date and Created By values
- Stakeholder sign-off from IT, RevOps, and at least one business-unit owner per major object
- A documented rollback trigger with named decision-makers, including one technical lead and one RevOps lead
Step 1: Backup, Inventory, and Field Mapping
Create a full backup of the source data before any transformation or import, including attachments, metadata, and configuration details. Store backups off-platform in a secure, version-controlled repository. Restore a small sample to confirm integrity before you proceed, because backups sometimes fail silently.
With the backup verified, the next pre-migration deliverable is a complete field mapping document. This document defines exactly what will move and how it will transform, so every stakeholder agrees on scope before any data touches the target org. Build a field mapping document with one row per source field recording:
- Source object and field API name
- Target API name and transformation rule
- Disposition: migrate, archive, or drop
- Stakeholder sign-off
Step 2: Full Sandbox Rehearsal and Load Sequence
Run a complete end-to-end rehearsal in a Full Copy Sandbox at production volume, reconcile the dry run, then cut over with a rollback plan before you re-enable automation. The sandbox run must mirror production, not a small sample.
During the sandbox load, follow this sequence.
- Disable validation rules, flows, Apex triggers, assignment rules, auto-response rules, and duplicate rules, and set email deliverability to system-only. This prevents slowdowns and accidental emails.
- Configure your load tool by setting batch size, sorting input by parent ID, and switching to serial mode if you see row-lock contention.
- After each object loads, compare record counts in source tables against target object counts to catch failures early.
- Spot-check parent-child linkages across Accounts, Contacts, and Opportunities to confirm relationship fields resolved correctly.
- Re-enable all automation only after the full load completes and you have reconciled counts.
Step 3: External IDs and Safe Upsert Design
Adding a unique External ID field on every target object enables idempotent upserts and precise rollback identification of migrated records. This approach means re-running a load updates existing records instead of creating duplicates.
Record relationships in Salesforce use unique record IDs rather than names, so legacy source-org IDs in import files must be replaced with newly generated IDs from the target org, and External ID fields with VLOOKUP or upsert operations handle this automatically.
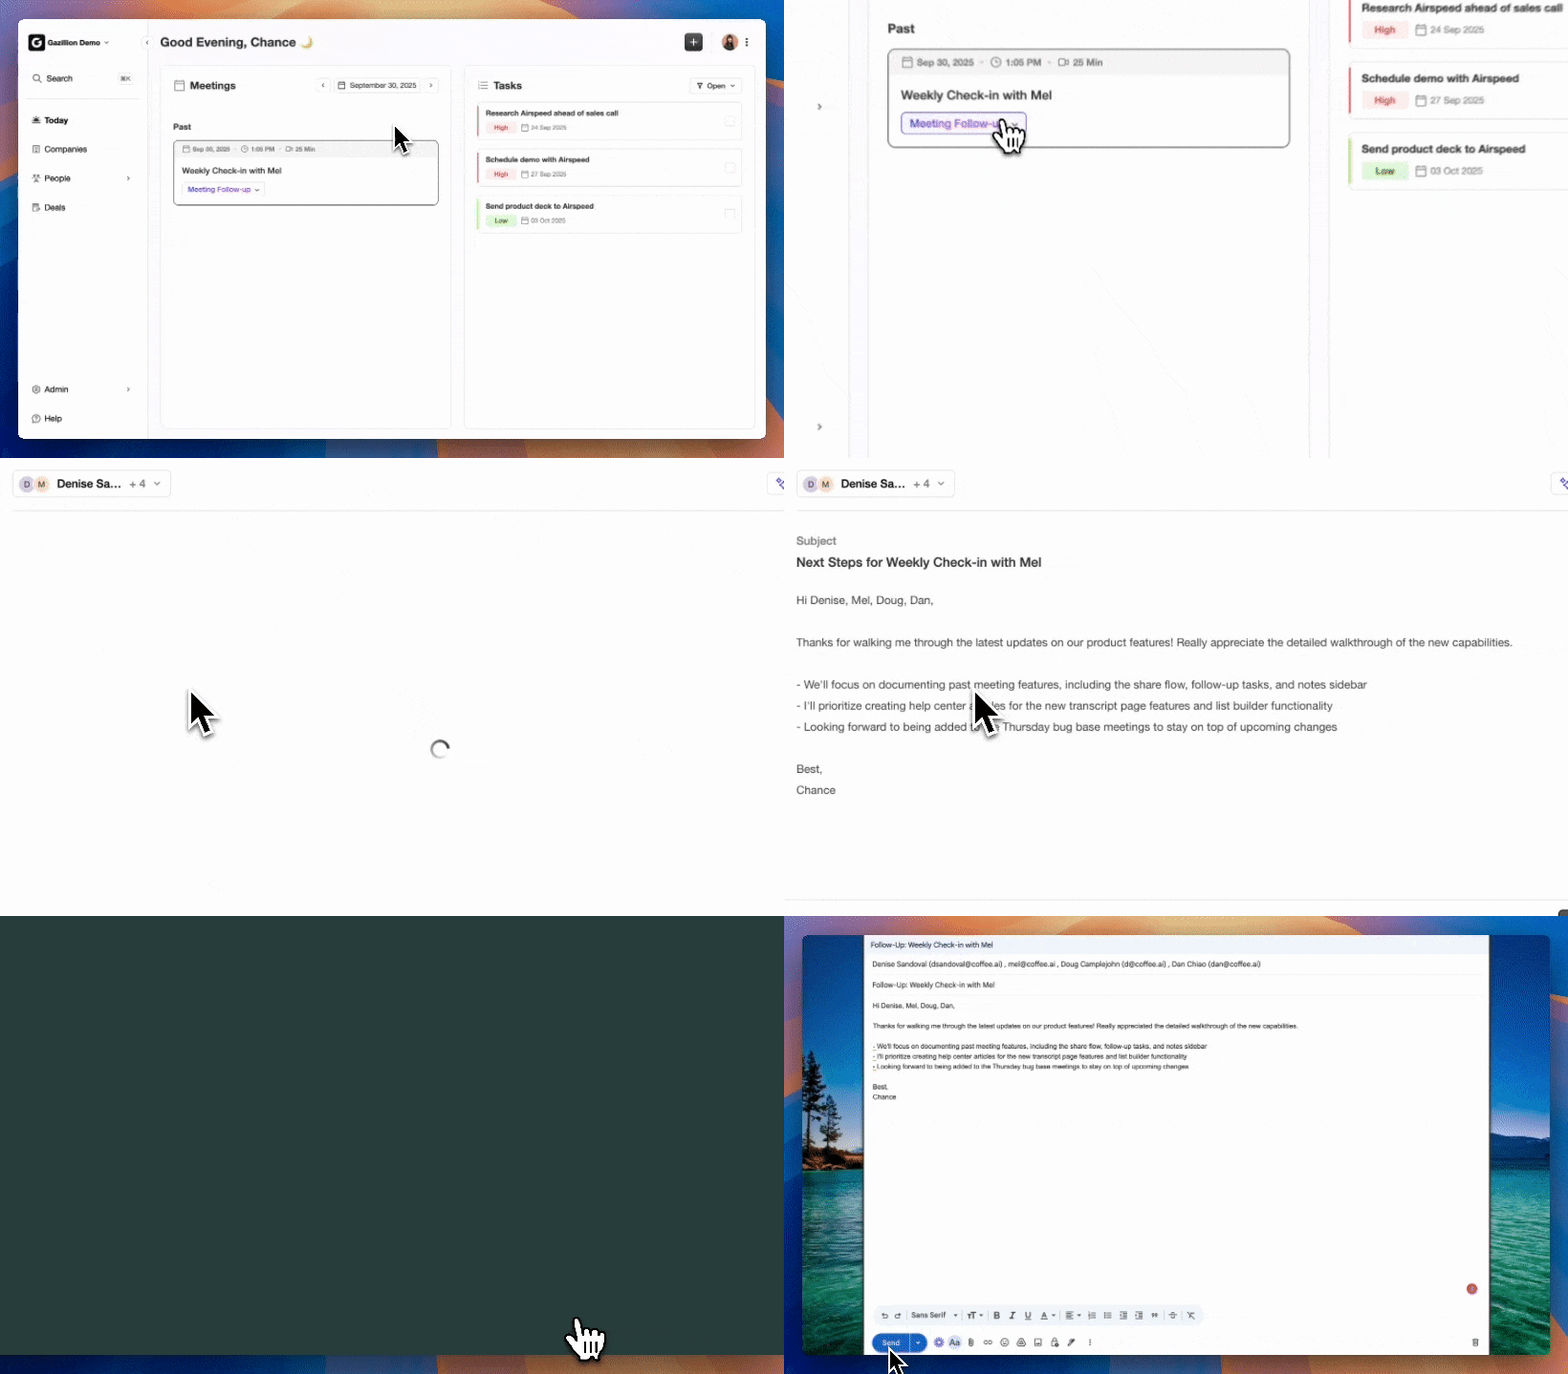
Once your migration is complete and these relationships are correctly established, the next challenge is keeping them accurate as reps update records daily. Coffee’s AI agent automates ongoing data quality with Coffee after migration completes, so the clean data you load stays clean.
Step 4: Object Dependency Order with Concrete Examples
The recommended load sequence is:
- Users, Roles, and Teams
- Accounts, including a second pass for self-referencing ParentId hierarchies
- Campaigns
- Contacts
- Products and Price Books
- Opportunities
- Opportunity Line Items
- Cases
- Custom Objects
- Tasks and Events (Activities)
- Notes, Files, and Attachments
- Chatter Feed data, re-associated after main object migration
Step 5: Moving Files, Notes, and Attachments Safely
Salesforce stores files using four key objects: legacy Attachment records, ContentDocument as the logical container, ContentVersion for the binary data and version history, and ContentDocumentLink as the junction object for parent associations and sharing.
Data Loader can migrate Salesforce files into ContentVersion, with batch size set to 1 and mappings to external binary files, even though CSV files cannot embed binary data directly in VersionData. For complex file moves, use a scripted API-based method or a dedicated tool such as SFDMU (Salesforce Data Move Utility), which is built for complex migrations with circular references and file attachments. SFDMU’s core:ExportFiles add-on handles ContentVersion, ContentDocumentLink, Attachment, and Note objects in a dedicated pipeline.
Track these limits during file migration.
- Minimum of 15,000 API calls plus 1,000 per full Salesforce license, except Developer Editions
- Bulk API 2.0 upload cap of 100–150 MB per file in base64 encoding, with no stated REST upload cap in the evidence
- A dry run with 50–100 representative files of varying sizes before the full load
- Verification of source and target ContentDocument counts, total file size sums, and correct sharing visibility per record
Step 6: Three-Tier Validation and Reconciliation
Post-migration audits follow a three-tier timeline designed to catch different failure modes while fixes remain reversible. Tier 1 checks at Hour 1 confirm that data arrived correctly before sales access. Tier 2 checks at Hour 24 confirm data integrity after automation settles. Tier 3 checks at Hour 72 confirm that business logic produces correct outcomes under real usage.
Run these checks at each tier.
- Run SOQL queries such as SELECT COUNT(Id) FROM Account and SELECT COUNT(Id) FROM Contact to compare against source record counts
- Manually spot-check 50 randomly selected records field-by-field against source data to catch systematic mapping errors that count checks miss
- Confirm sums of financial fields, such as total open opportunity value, match between source and target
- Verify every Contact has a valid Account and every Opportunity Line Item has a valid Opportunity, and identify any orphan records
- Check for truncated values in text fields, since Salesforce standard fields have fixed lengths that vary, and custom Text fields are limited to 255 characters.
- Confirm ownership and visibility rules, and run business-critical dashboards to verify pipeline figures
- Obtain written business-user sign-off before decommissioning the legacy system
Step 7: Rollback Triggers and Execution Plan
The rollback execution sequence follows a clear order.
- Stop the migration immediately when a trigger condition occurs.
- Revoke all rep access to the destination org.
- Restore full source system access and notify the sales team within 30 minutes.
- Document the destination org state before any cleanup.
- Delete migrated records in reverse load order using success-file IDs.
- For updated records, re-import from the pre-load field-level backup export.
- Begin data reconciliation only after the source system is confirmed stable.
Beyond the Core Runbook: Validation, Variations, and Long-Term Quality
Post-Migration Validation: Counts, Relationships, and Ownership
Variations by Source System and Team Size
For org-to-org migrations, metadata must match between source and target orgs before any data moves, so record types, picklist values, and required fields must be reconciled first. The External ID and upsert strategy from earlier steps applies directly.
For legacy-to-Salesforce migrations, the source system usually uses a relational database with its own primary keys, and those keys become the External ID values loaded into Salesforce. Field mapping complexity increases because legacy field names rarely match Salesforce API names, which makes the field mapping document from Step 1 especially critical.
For smaller teams with under 50,000 records per object, the Data Import Wizard handles simple imports up to 50,000 records, while Data Loader covers admin-led migrations up to 5 million. When migrating more than 2,000 records per object, Bulk API 2.0 supports high-volume asynchronous loads with chunking. Larger teams with repeatable pipelines benefit from SFDMU, which supports direct org-to-org migration without intermediate CSV files and manages circular references such as Account.ParentId.
How Coffee’s Companion App Prevents Future Data-Loss Risks
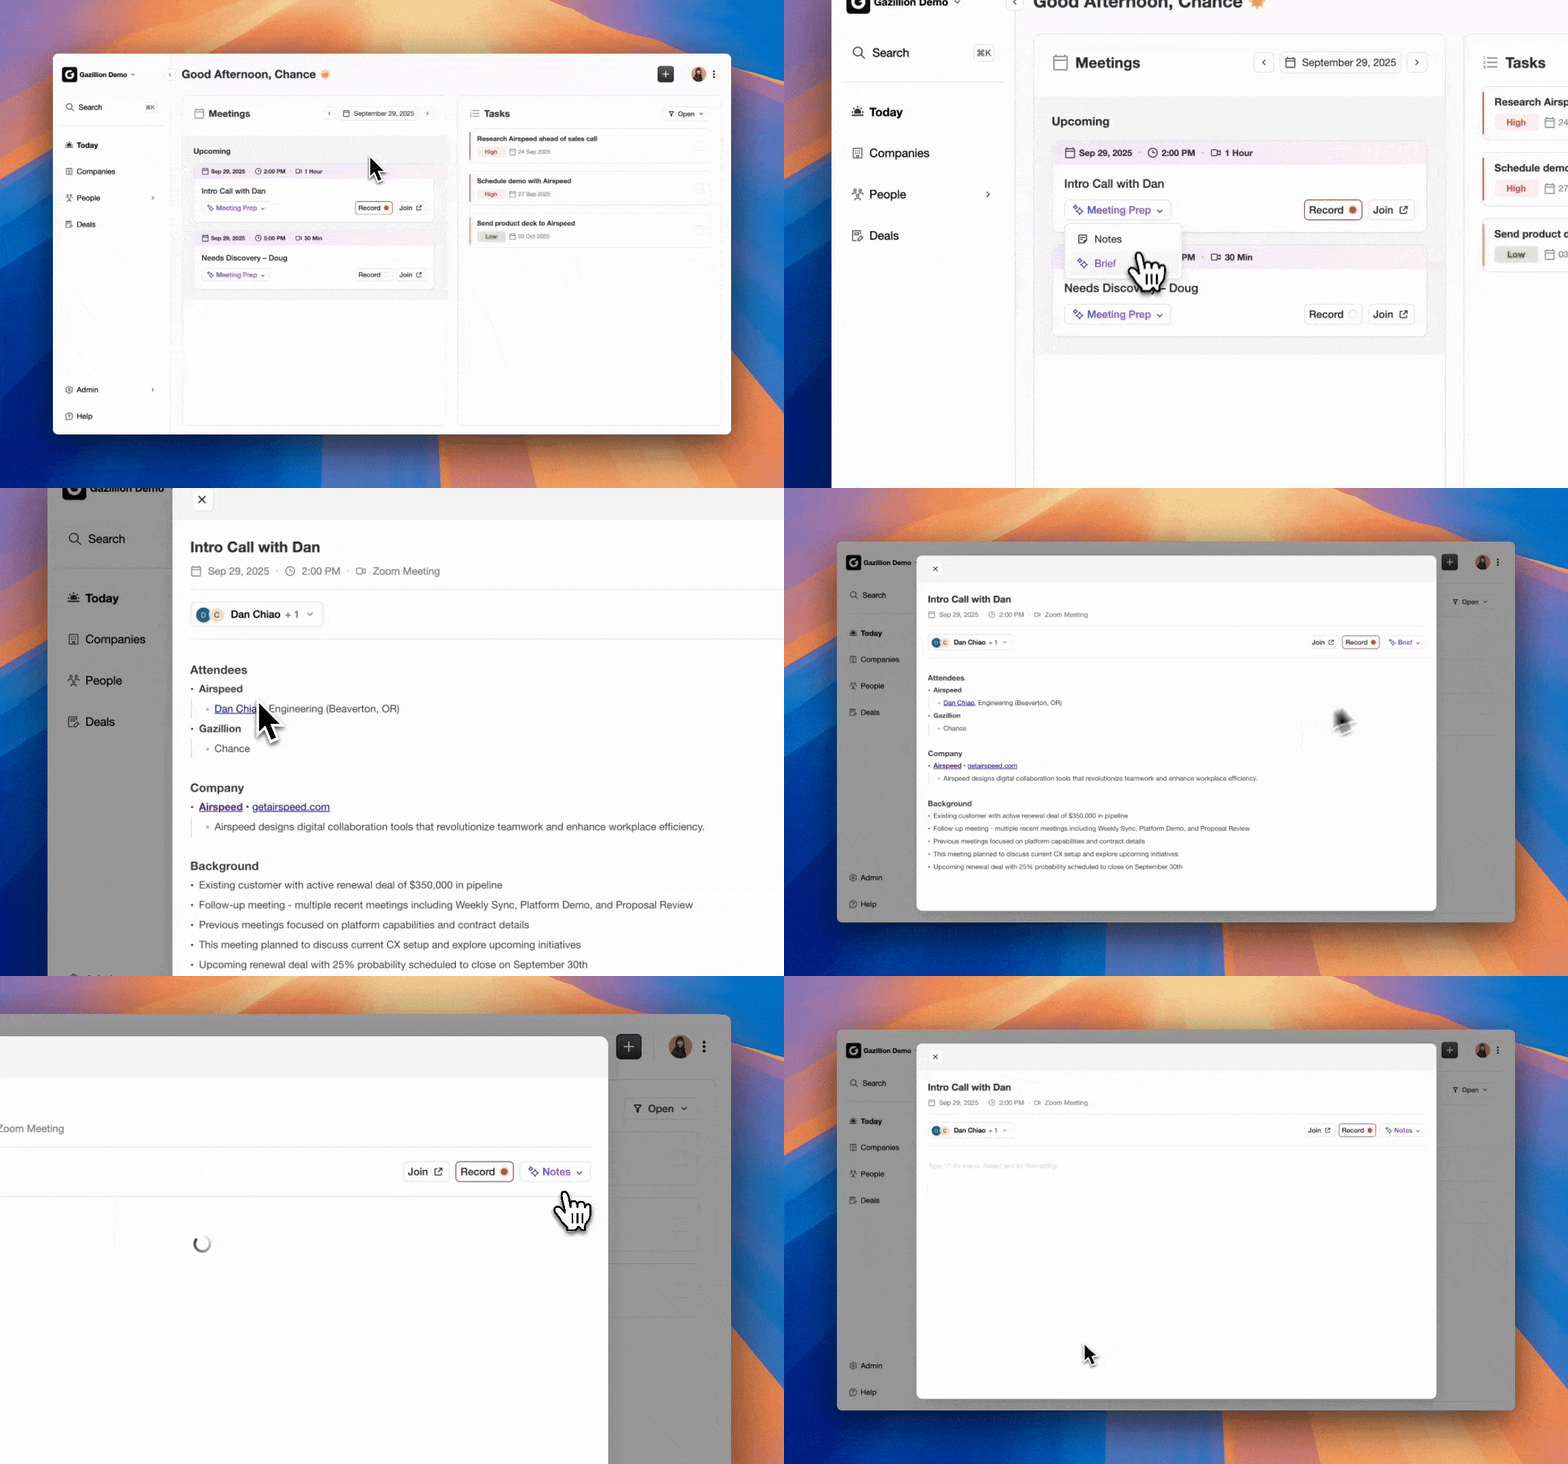
A clean migration sets a strong starting point, but it does not guarantee long-term data quality. The same manual data-entry habits that degraded the source org will eventually degrade the target org unless you change the process. Coffee’s Companion App deploys an AI agent directly on top of your Salesforce instance, automatically capturing emails, call transcripts, and calendar activity to keep records accurate without extra effort from reps.
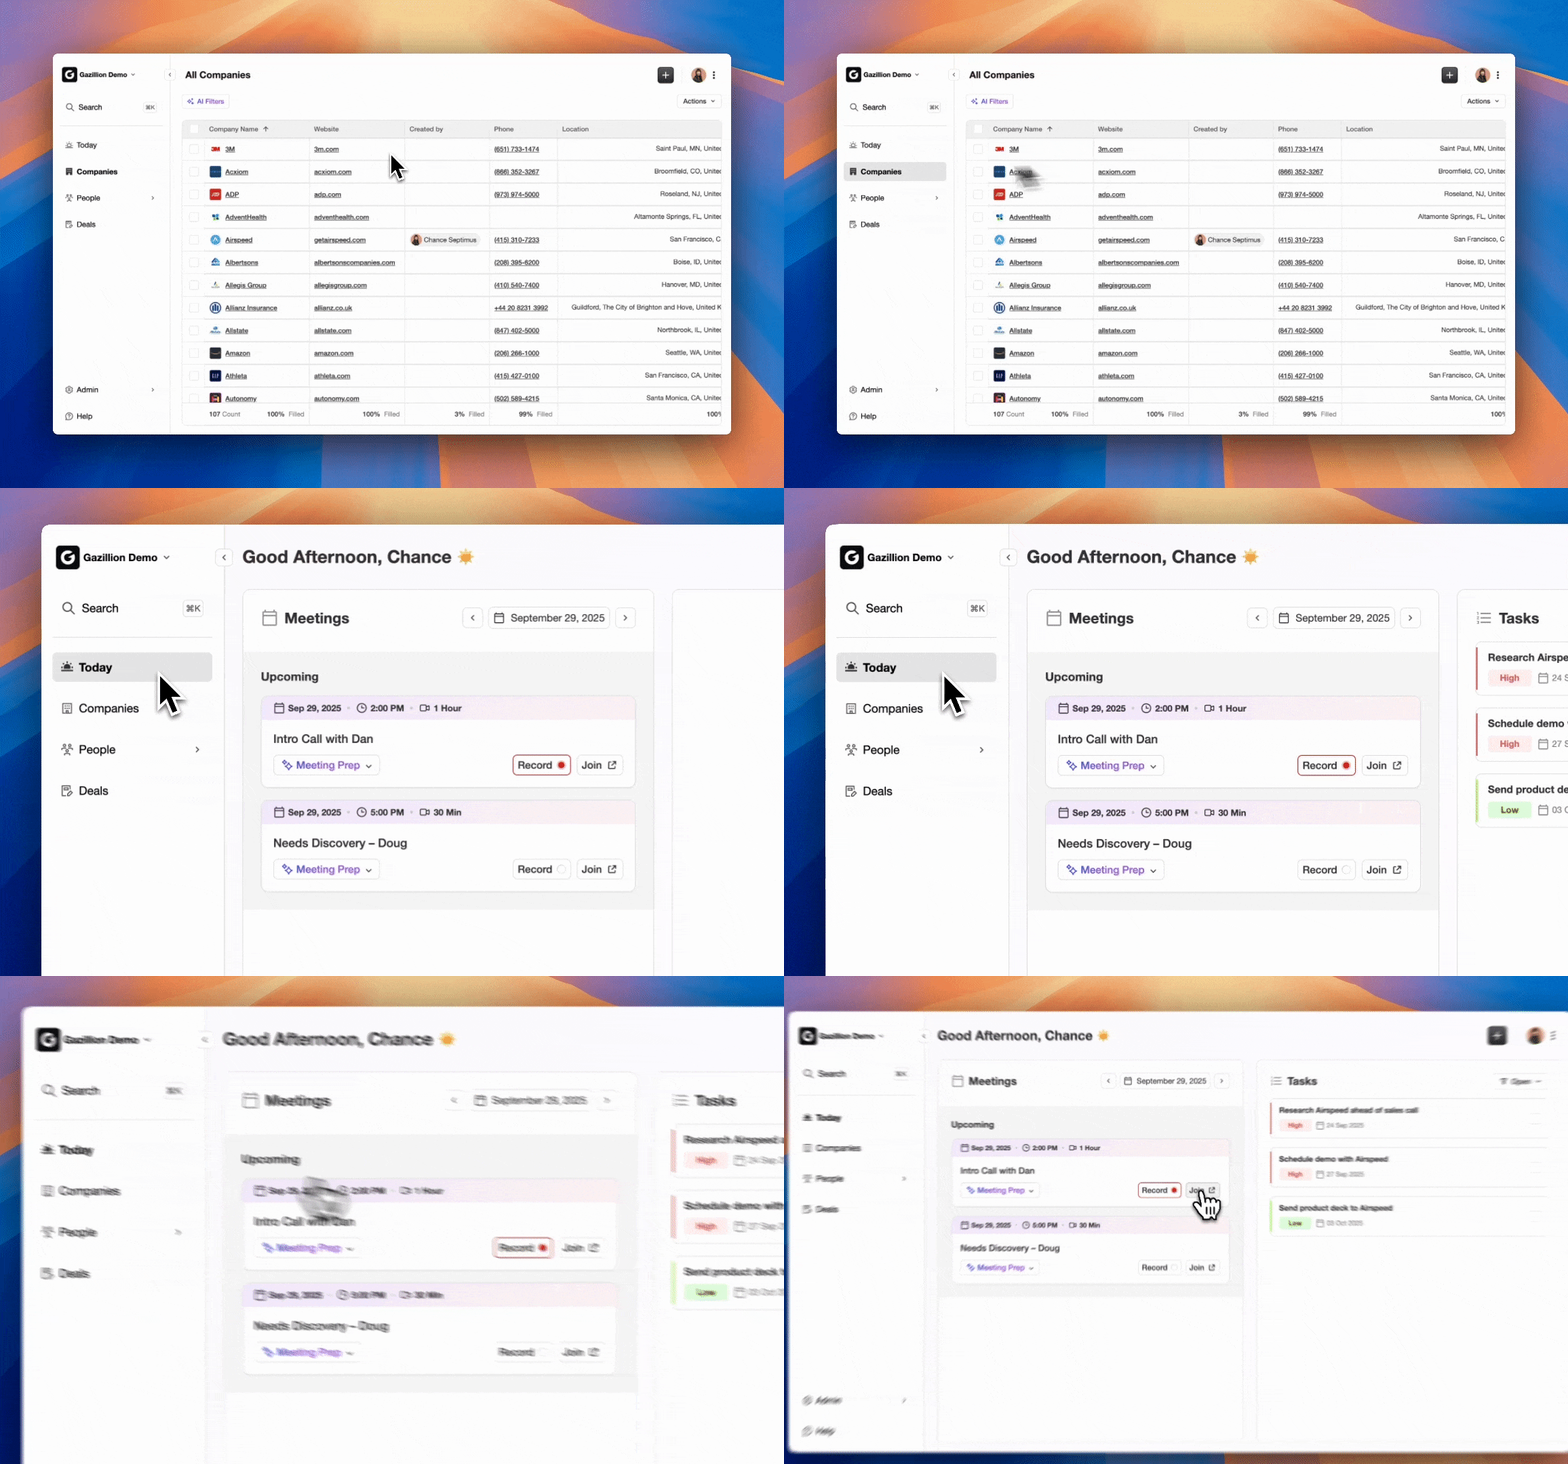
The agent writes enriched, structured data back to Salesforce continuously, so the zero-loss state you achieve on migration day persists as your team works. You can deploy Coffee’s agent on your Salesforce instance today and remove manual logging as a failure point.
Frequently Asked Questions
How long does a zero-data-loss Salesforce migration take?
Timeline depends on data volume, object complexity, and the amount of pre-migration cleanup required. A small org with under 100,000 records across core objects can complete sandbox testing, production cutover, and 72-hour post-migration validation in two to four weeks. Mid-market orgs with millions of records, complex custom objects, and large file libraries typically require six to twelve weeks when you account for field mapping, sandbox rehearsals, stakeholder sign-off cycles, and reconciliation. The 72-hour post-cutover audit window remains non-negotiable for every size, because that period covers Tier 1, Tier 2, and Tier 3 validation checks before the legacy system is decommissioned.
Who owns the migration process, admins or RevOps?
Both roles share ownership, with distinct responsibilities. Salesforce admins own the technical execution, including metadata preparation, Data Loader configuration, External ID field creation, automation bypass, and SOQL reconciliation queries. RevOps leads own the business validation layer, including field mapping sign-off, rollback trigger criteria, stakeholder coordination, and user acceptance testing.
Neither role can replace the other. Migrations that assign ownership to only one function often produce technically correct loads with wrong field mappings, or well-mapped loads that break business processes. Name a single migration lead who coordinates both tracks and has authority to call a rollback.
What is the biggest cause of data loss during Salesforce migrations?
Incorrect load order is the most common technical cause. When child records load before their parent records exist in the target org, lookup fields fail silently and produce orphaned records that appear in record counts but are functionally broken. The second most common cause is incomplete field mapping, especially legacy fields used in reports that are not mapped to a target field and are silently dropped.
A third frequent cause is the absence of External IDs, which forces teams into a fragile two-pass ID remapping process that breaks under any load error. All three causes are preventable when you follow the runbook above.
How do you maintain data quality after the migration is complete?
Post-migration data quality usually degrades because humans remain unreliable data entry clerks. Reps skip logging calls, forget to update stages, and leave fields blank under time pressure. The structural fix removes the dependency on manual entry entirely. An agent-led approach, where software automatically captures emails, meeting notes, and call transcripts and writes structured data back to Salesforce, keeps the CRM accurate without relying on rep discipline.
Alongside automation, establish a data quality baseline report at 48–72 hours post-cutover that measures null rates, duplicate rates, and relationship completeness, then monitor those metrics weekly. Any degradation signals a process gap that the agent should be configured to close.
Conclusion: Follow the Runbook and Protect Your Data
Migrating Salesforce without losing data requires executing seven core steps in sequence: full backup and field mapping, sandbox testing with automation disabled, External ID and upsert configuration, dependency-ordered loading, binary file migration via ContentVersion and ContentDocumentLink, three-tier post-load validation, and a documented rollback plan with named decision-makers. Each step has a defined output that gates the next. Skipping any checkpoint, especially the sandbox dry run or the Hour 1 reconciliation, removes the safety net that makes zero data loss achievable.
The runbook gets data into the target org cleanly. Keeping it clean after go-live requires an agent that removes manual entry as a dependency and monitors quality over time. You can maintain zero-loss data quality with Coffee’s automated agent and keep Salesforce accurate long after migration day.